The first time you open Forecast Bar on your iPhone or iPad, a short welcome walkthrough sets everything up: your location, the notifications you want, and your subscription. Progress dots at the bottom show where you are, and every step has a Skip option — nothing here is irreversible.
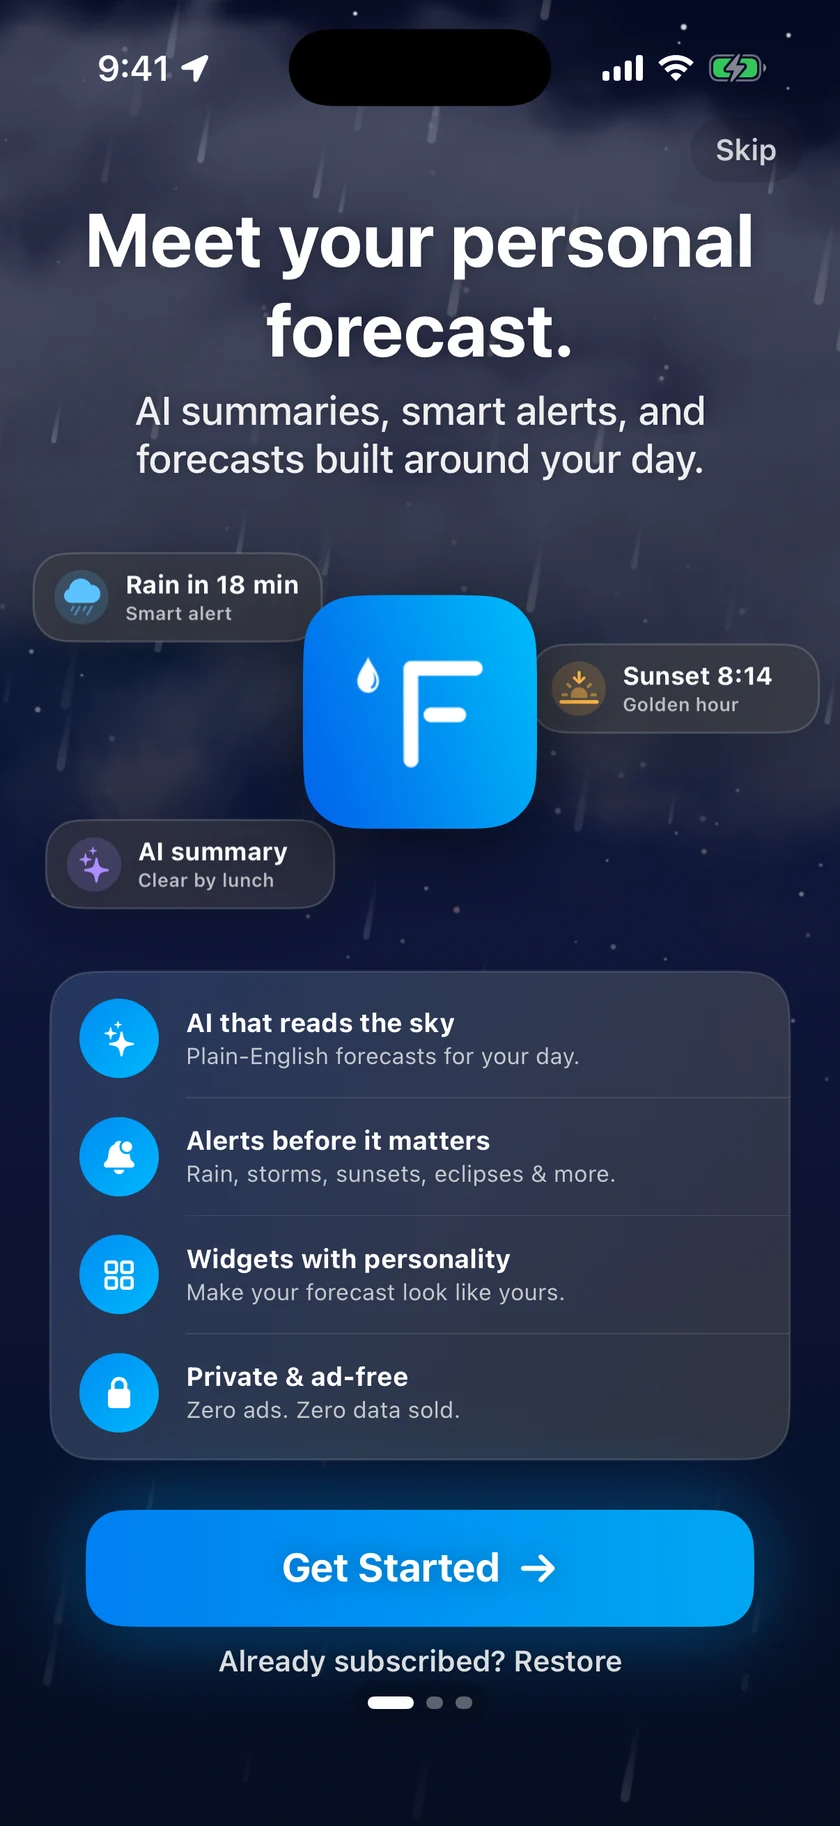
Step 1: Welcome
The opening screen introduces the app. Tap Continue to begin.
Step 2: Your location
Choose how Forecast Bar finds your weather:
- Use My Location — asks iOS for location permission right then, and follows you automatically from then on.
- Pick a city instead — search for any city, no location permission required.
You can always add more cities later from the side menu — see Locations.
Step 3: Notifications and subscription
The "Stay ahead of the weather" step lists four kinds of notifications. Nothing is pre-checked — you opt in to exactly what you want:
| Notification | What it does |
|---|---|
| Severe Alerts | Warnings for severe weather at your location |
| Daily Reports | A morning and/or evening forecast summary |
| Precipitation | Alerts when rain or snow is about to start |
| Beautiful Sunrises & Sunsets | A heads-up when a high-quality sunrise or sunset is coming |
Two of the rows expand with extra choices:
- Daily Reports — a Morning report (on by default once you check the row, set to
7:00 AM) and an Evening report (off by default, set to6:00 PM), each with its own time picker. - Beautiful Sunrises & Sunsets — separate Sunrise and Sunset checkboxes, both on by default once you check the row.
The moment you turn on your first notification type, iOS shows its standard permission dialog — allow it so alerts can be delivered. If you decline notifications entirely, the app asks "Are you sure?" once, then respects your choice.
Because notifications are a subscription feature, this step also presents the subscription offer: Start Subscription with 7 Day Trial, a free week before the Gold annual plan begins. If you'd rather not decide now, skip it — your notification picks are remembered and applied automatically if you subscribe later.
Note: Notifications require an active subscription and a signed-in account — the 7-day free trial that starts every new subscription includes them. See How Notifications Work.
Step 4: Sign in with Apple (optional)
If you start a subscription or trial, the walkthrough offers Sign in with Apple. Signing in creates your Forecast Bar account, which delivers your notifications and syncs your locations and settings to your other devices — see Sync Across Devices.
Step 5: Restore your settings (returning users)
If your sign-in finds settings already stored in the cloud from a previous device, one final step asks which to keep:
- Your cloud settings — restore everything from your account.
- This device's settings — keep what you've just set up and sync it upward instead.
Running the walkthrough again
You can replay the whole flow any time: Settings → About & More → Debug Options → Preview New Welcome Walkthrough. It's a preview — replaying it won't reset anything you've already configured.
