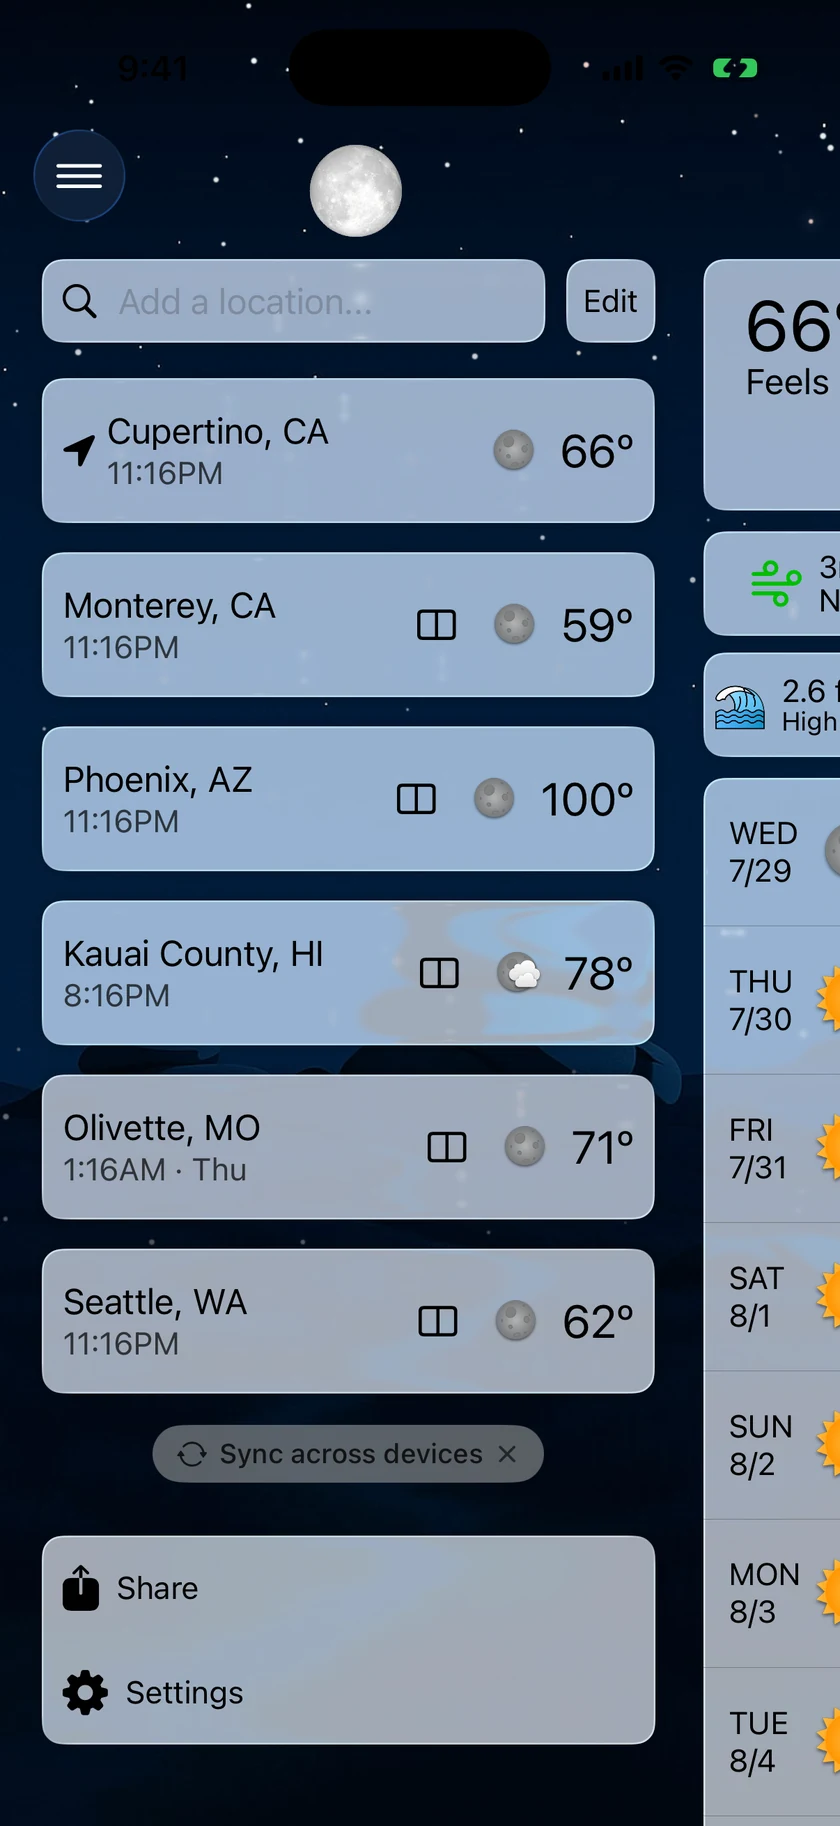
All of your saved places live in the side menu. Open it by tapping the hamburger button in the top-left corner of the main screen, tapping the location name in the toolbar, or swiping in from the left edge. On iPad, the side menu is a permanent sidebar — always visible, no swipe needed.
Adding a location
- Open the side menu and tap the Add a location… search bar.
- Type a place name and pick from the results.
Search is not limited to cities. It also finds points of interest and street addresses — national parks, ski areas, airports, stadiums, trailheads — so you can put the forecast on the exact spot instead of the nearest town. A place you add this way is saved under the name you picked, so Yosemite Valley is listed as Yosemite Valley rather than as the town next door.
Above the results is an Add to Favorites toggle. Leave it on to save the place to your list; turn it off to just view its weather once without saving it.
You can save up to 100 locations.
Switching locations
Tap any row to switch the whole app to that location. Current Location — the row with the GPS pin — always follows wherever you are.
What each row shows
- The location's name, and its local time when you've enabled Settings → Data & Layout → Location List → Show Local Time (on by default) — handy for faraway cities.
- The current weather icon and temperature, inline on the first 8 rows. Inline weather requires a Silver or Gold subscription — see Plans & Subscriptions.
- A GPS pin on Current Location, or a house icon on your Home location.
- A compare button (see below), if you've turned it on.
Editing your list
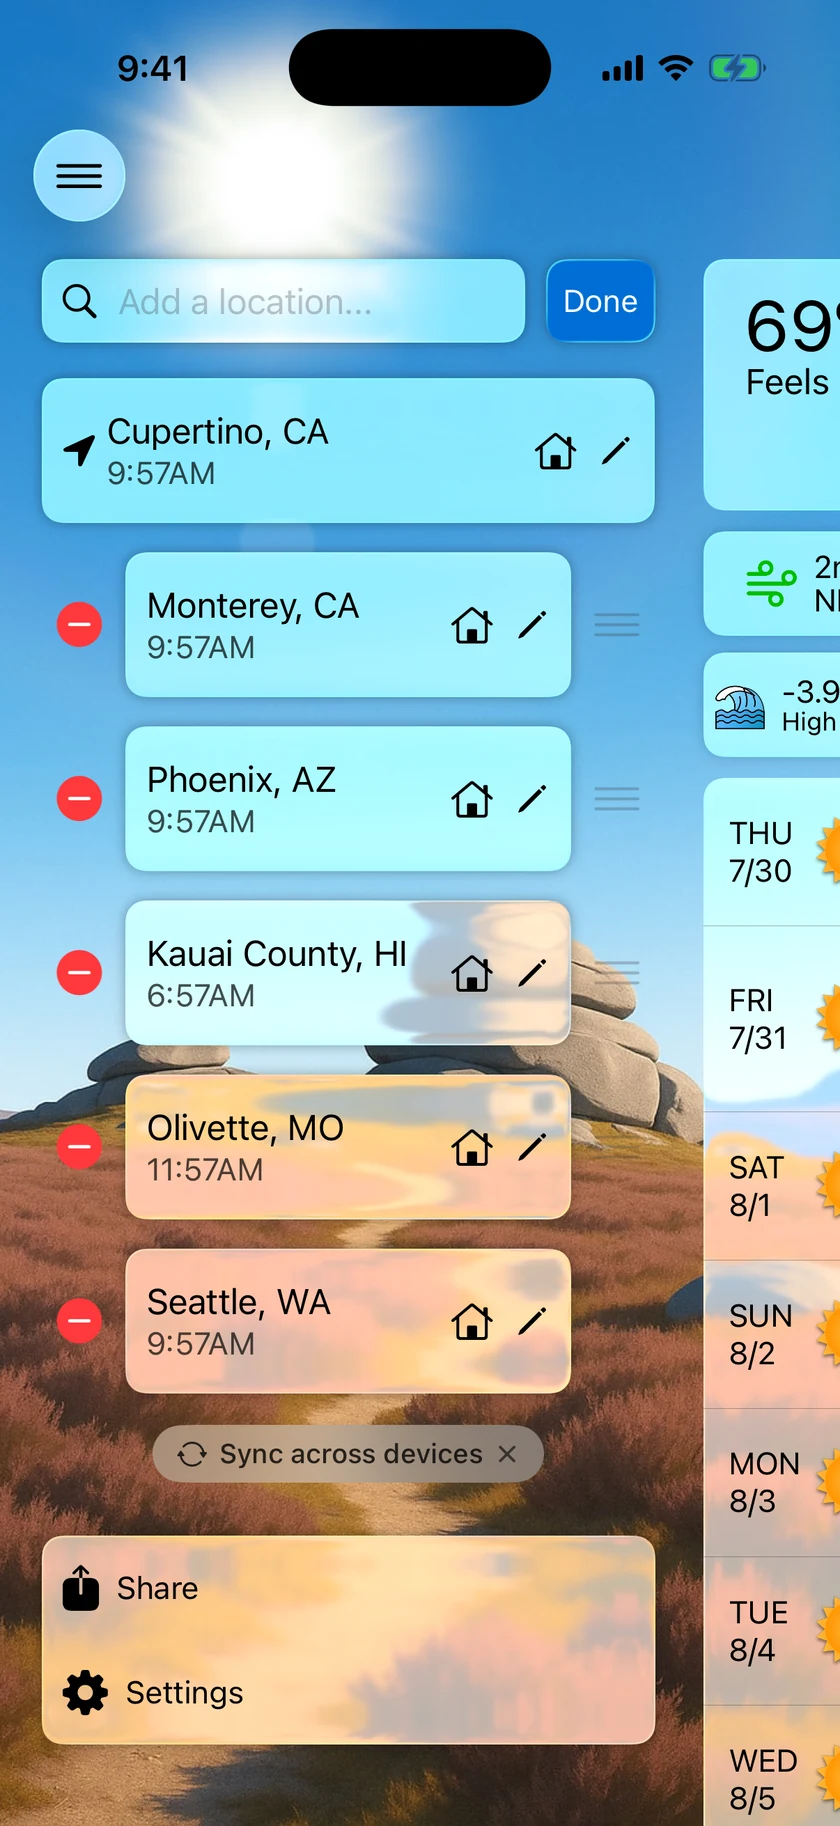
Tap Edit next to the search bar to enter Edit mode, then:
- Reorder — drag rows into the order you want. This order also drives Multi-City widgets and location keyboard shortcuts.
- Rename — tap the pencil icon and type a new name (e.g. "Mom's house").
- Delete — swipe a row away or use its delete control. Current Location is pinned and can't be removed. Deleting your Home location asks you to confirm first.
- Set Home — tap the house icon on a row to mark it as your Home location.
Tap Done when you're finished.
Comparing two locations
With a Gold subscription you can put two locations side by side. Turn on Settings → Compare & Home → Location Compare Button → Show Compare Button, and each side-menu row gains a compare button that opens a full-screen comparison table with Current, Hourly, and Daily views. See Settings for the compare options.
Choosing your default location
Settings → Data & Layout → Location List → Default Location controls which location the app opens with:
| Option | Behavior |
|---|---|
| Current Location (default) | Always start with the weather where you are |
| Last Selected | Reopen whichever location you were viewing last |
| Any saved location | Always start with that specific place |
Sharing your forecast
At the bottom of the side menu, tap Share to send a screenshot of your current forecast through the standard iOS share sheet — Messages, Mail, social apps, or Save to Photos.
Tip: Your saved locations can follow you to your iPad, Mac, Apple Watch, and Apple TV — sign in once and they sync automatically. See Sync Across Devices.
